I’ve been using Sublime Text for over 2 years now and I’ve grown to be an advocate of the popular text editor. It’s fast, flexible and reliable.
This article outlines how I currently have my editor setup and some of the features I use. I’m currently using the Sublime Text 3 beta (so bear that in mind if you’re still using Sublime Text 2).
If you’ve not tried Sublime Text before, hopefully this guide encourages you to give it a go. If you’re already using Sublime Text, hopefully there is still something in here that will be of use.
Themes and colour schemes
The most common complaint I hear about ST is how it looks. I hear ya. It’s ugly out of the box and it sure doesn’t feel like a Mac app. Luckily, it doesn’t take much to make Sublime Text look much better.
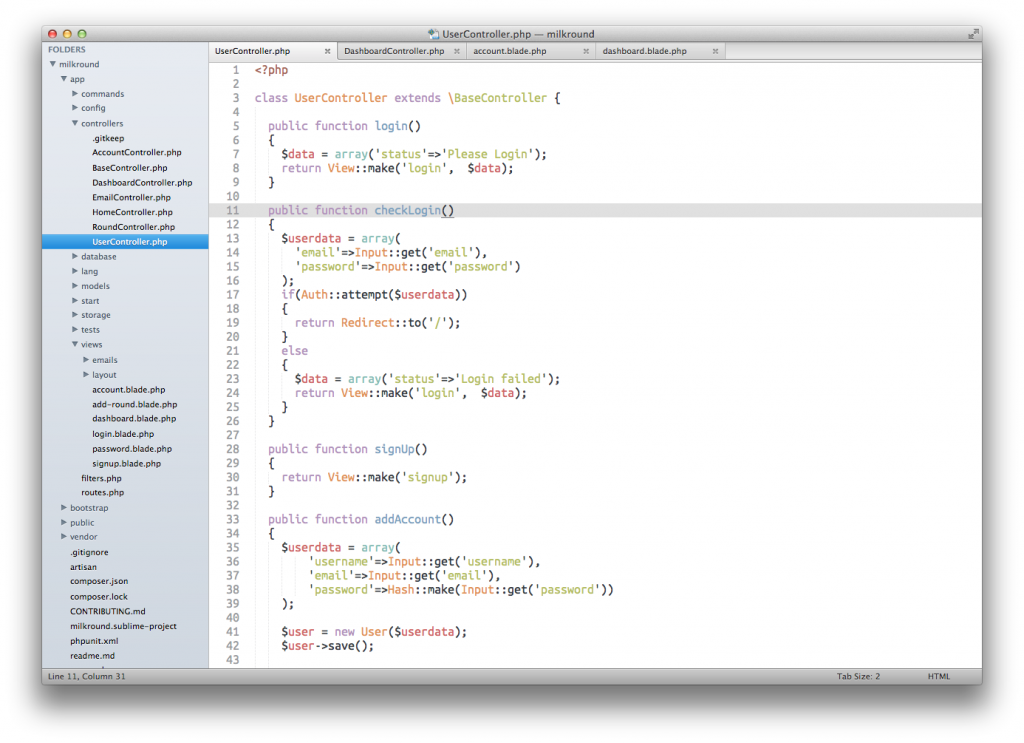
I use the Soda theme which makes ST look more like a native Mac app.
Base 16 tomorrow is my colour scheme of choice with the Ubunto Mono font face at size 16. I also turn off the minimap (View > Hide Minimap).
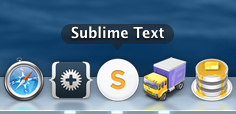
I’ve replaced the Sublime Text icon with this excellent icon by Elliot Jackson (found this via Alex Maccaw, on his excellent post Setting up Sublime Text 2).
Changing the icon is easy. Download the .icns file and then in terminal type the following:
mv ~/Downloads/st2.icns /Applications/Sublime Text.app/Contents/Resources/Sublime Text.icns
Code language: JavaScript (javascript)
Packages
Sublime Text can be extended with packages. There are hundreds available, which can be used for simple tasks such as syntax highlighting or themes, through to more advanced functionality like adding SFTP or Git features. The first thing you’ll need to do is install package control. Once installed, you’ll have access to a huge library of packages.
Here’s what I currently have installed:
- Base16 Colour Schemes (my colour scheme of choice)
- CSS Comb (sorts CSS properties in a specific order)
- Emmet (expands CSS-like syntax into HTML)
- Laravel 4 Artisan (run artisan commands from the Sublime console)
- Laravel Blade Highlighter (syntax highlighted for blade)
- LESS (syntax highlighting for LESS files)
- MarkdownEditing (features/styles for writing Markdown in Sublime)
- Nettuts+ Fetch (fetch files from remote repositories)
- SASS (syntax highlighting for SASS files)
- SFTP (adds SFTP/FTP features)
- SideBarEnhancements (adds extra options to the options menu on sidebar)
- Theme – Soda (my theme of choice)
Projects
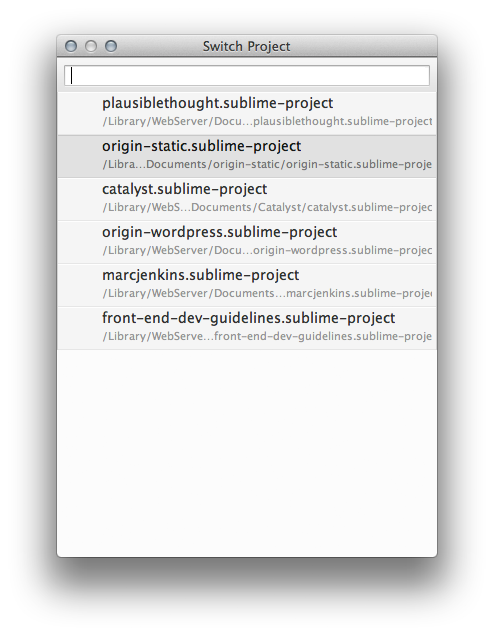
I use the built in quick switch project tool to flick between projects. It’s fast and remembers where you left off. If you’re in and out of projects all day, you’ll love this feature. Hit Cmd + Ctrl + P and the Switch Project dialogue will appear. Just type the first few letters of your project until it highlights, then hit enter.
Goto anything
Perhaps one of my favourite Sublime Text features is the ‘goto anything’ feature. Hit Cmd + P and it’ll reveal a list of files. Typing a name will show a live list of results below.
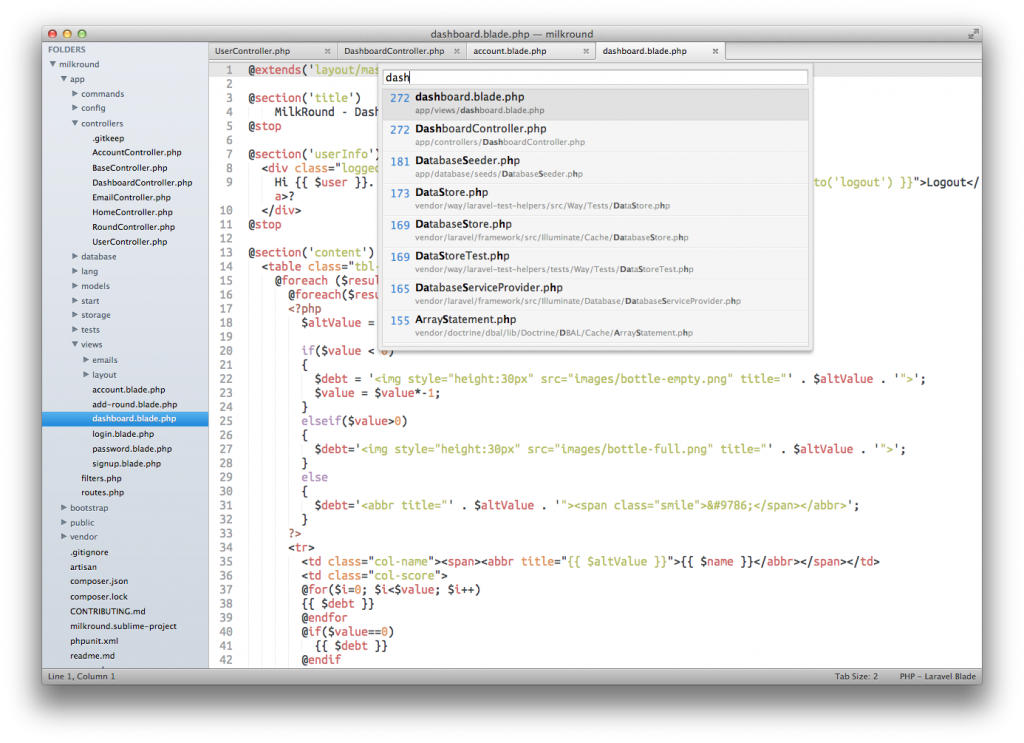
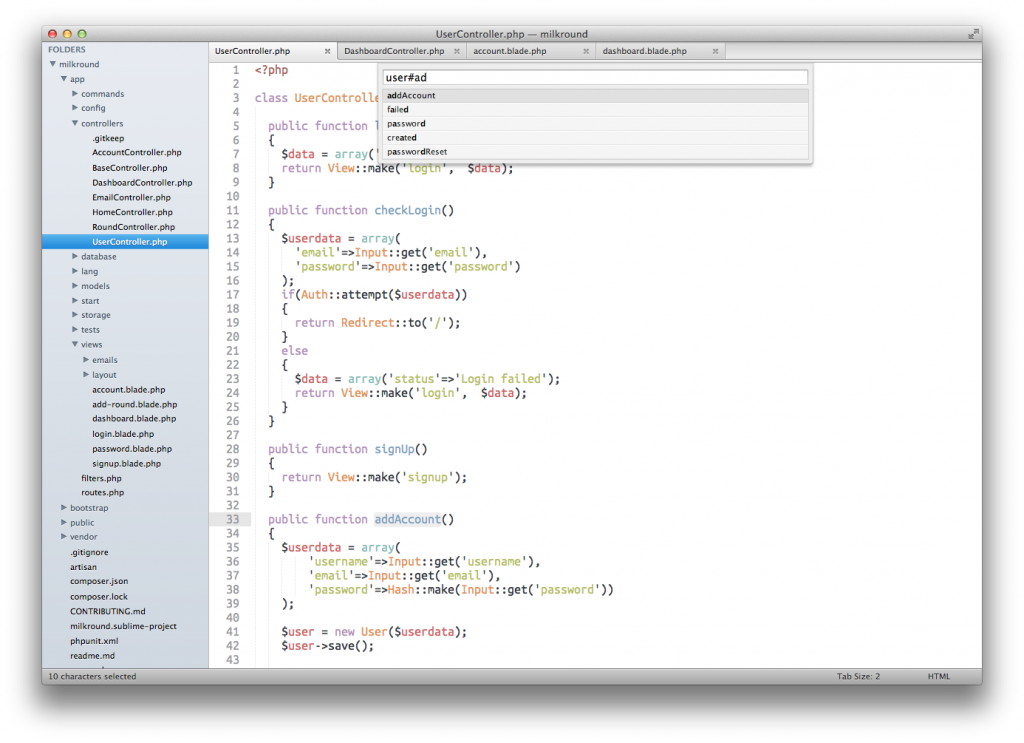
Typing the file name followed by a hash will show a list of functions.
Typing the file name followed by a colon and a number will take you to that line in the file.

Alfred workflow
I use the Open with Sublime Text Alfred workflow. Once installed, you can open a file or multiple files from the Finder by opening Alfred and typing ‘subl’.
Command line tools
Sublime Text includes a command line tool called subl. This allows you to quickly open a file in ST. This is really handy if you want to do some complex changes to a file and don’t want to use nano. To enable it, type the following in terminal:
ln -s "/Applications/Sublime Text.app/Contents/SharedSupport/bin/subl" ~/bin/subl
Code language: JavaScript (javascript)
Syncing via Dropbox
I use ST on my iMac at work and on my MacBook Pro at home. Dropbox is a perfect way to keep both in sync. If I install a new package or tweak a colour scheme, both environments are updated automatically.
I won’t go into details of how to do this here, but there are a couple of good guides on how to do this. I followed this one.
Wrapping up
Combined with iTerm2 (with a drop down visor view) and CodeKit, I’ve got a robust development environment that I’m very happy with.
I’d love to hear about your ST setup. Feel free to leave comments below.